Dance Like
 Tickled By
♥Missy♥
Tickled By
♥Missy♥
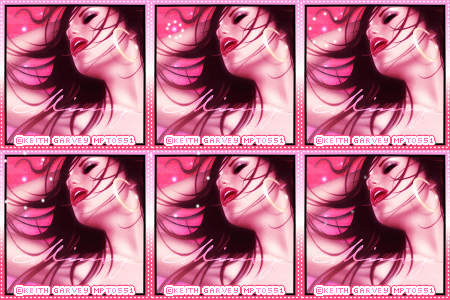
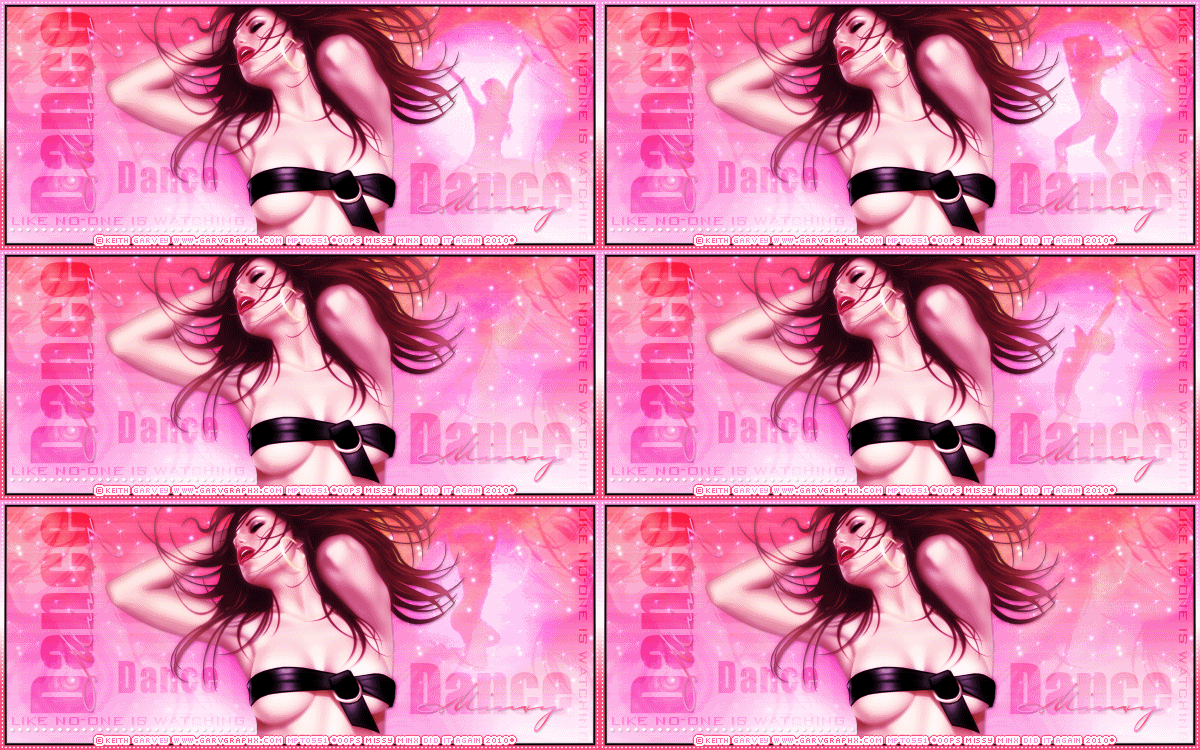
This tutorial was written for those
that have a working knowledge of PSP.
Supplies Needed:
PSP 9 (any version will work)
Tube of choice and a close up
I used artwork by Keith Garvey
If you would like to use his artwork please visit PSP Tubes Emporium
I had bought this tube when he was selling at MPT
Texture of choice or the one I used from here
You also want a sparkle texture of choice this is optional tho
Accent - supplied if this is yours please email me so I can credit or remove, thanks
Dancing Animation this one I edited a little to suit the set please do not use this version in tutorials
Animation for avatar which you can find here
You want #1 animation
Supplies here
Font of choice I am using Impact, Bank Gothic and Carpenter
Filters used:
Adjust - Variations
VM Extravaganza - Transmission
Lets get started
New canvas 600 x 250 flood fill with black
Open up the texture I used the first texture in the preview
Copy and paste this onto your canvas-arrange as below
Change the blend mode to hard light - be sure its hard light for the dancing animation to blend in
Your canvas should now look like this
It may vary if you are using a different texture
If you are using a sparkle texture too open this up and copy and paste over to your canvas
Change the blend mode to screen or whichever looks best
Open up the dancingani-missy file supplied
You will notice the layers are locked - this is so when you have pasted the layers onto your canvas
You can move them into place without messing up the animation - all the layers will move together
So starting at the bottom of the layers girl1-m copy this layer and paste onto your canvas
Repeat until all the layers are over on your canvas
Close all of the dancing girl layers just leave open girl1-m layer (the first dancing girl layer at the bottom) so you can see what your set will look like
Move the girl1-m layer over to the right of your banner
Now don't worry about the other dancing girl layers
With the layers locked they wil have moved too
You should now have this
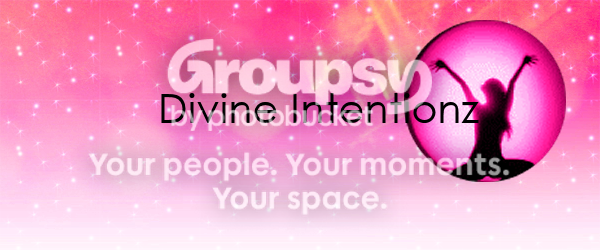
Still doesn't look right eh so the texture (and sparkle texture if you added one) you added earlier
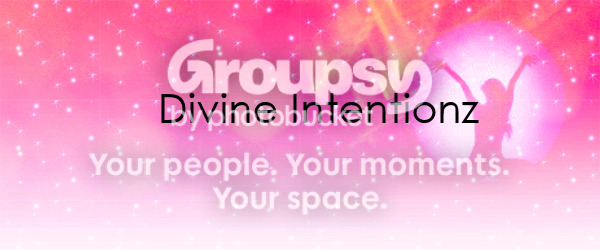
Move any texture layers above the dancing girl layers - you must move the textures above ALL the dancing girl layers
You should now have this - which is much better and blended which is what we wanted
Open up your close up of choice-copy and paste onto your canvas
Arrange this to the left of your canvas
Duplicate-blur-gaussian blur-radius 3.00-click ok
On the duplicated layer-change the blend mode to soft light-lower the opacity to around 40
Back on the original close up layer-change the blend mode to screen-lower opacity as above
Back on the duplicated layer-effects-plugins-VM Extravaganza - transmission - line width setting of choice
You should now have something like this
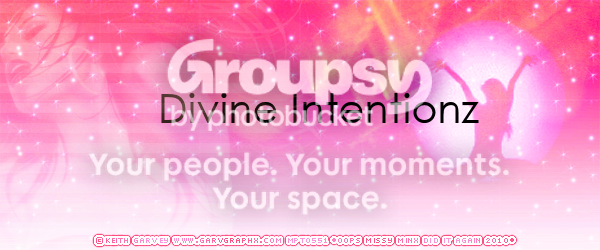
Repeat the above for the right hand side-but on the duplicated close up layer...
Change the opacity to 18 not 40
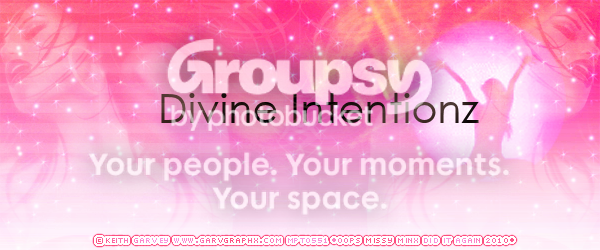
The dancing girl is now more blended in with your close up too
Open up the accent supplied-copy and paste this to your canvas
Arrange in the center of your canvas-duplicate the layer
Duplicate one of the accent layers again-arrange this to the left of your canvas
Lower the opacity to around 58-duplicate and this just under the dancing girl
Open up your tube of choice-place this in the center of your canvas
Duplicate the tube-on the duplicated layer-adjust-blur-gaussian blur-radius 3.00
Change the blend mode to screen lower the opacity to 32
Duplicate this layer change the blend mode to overlay opacity 100
Effects-Adjust-Variations-you should see more magenta-click that then ok
Back on your original tube layer-drop shadow 1, 1, 20, 2.00 black
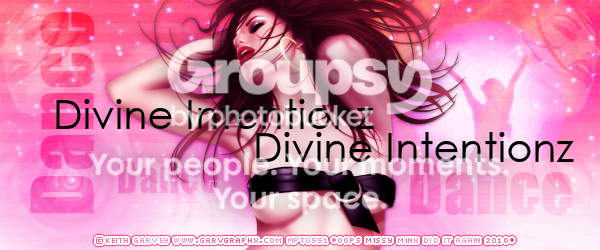
Using a fat font of choice-I am using Impact-add the word Dance (in black) a few times and different sizes
Change the blend mode to each of the words to soft light to blend them
See below
Using another font of choice-I am using bank gothic
Add the words 'Like no-one is watching'-arrange this bottom left of your canvas
Don't forget to leave some space for your border
Change the blend mode to soft light-duplicate-rotate this right by 90
Arrange to the right of your canvas but remember to leave room for your border
Add a dotted line if you wish-see above
Select the flood filled black layer we did way back at the beginning
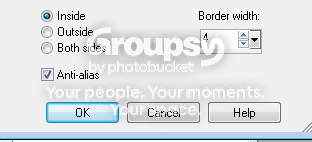
Selections-select all-float-defloat-selections-modify-select selection borders
Use the following settings
New raster layer-flood fill with a gradient of choice-you can find many on Deviantart
Selections-select none-move this layer to the very top
Back to the flood filled black layer-selections-select all-float-defloat
Modify-select selections borders-change the border width to 6
New raster layer-flood fill with black
Bring this layer just below the previous border we did
Add drop shadow 0, 0, 3.00 black
Set your foreground to white-background null
Preset shape-rectangle-using the following settings

Draw out a dotted rectangle frame around your canvas
Using a font of choice-I am using Carpenter-add your name-arrange a above if desired
Drop shadow of choice
Add correct copyright info
Now time to animate-we will be working with the dancing girl layers from bottom upwards
Select the open dancing girl layer-edit-copy merged-open up AS-paste as new animation
Back to PSP-close off the open dancing girl layer-reopen the next layer up
Edit-copy merged-back to AS-paste after current frame
Back to PSP again-keep repeating the above working your way up the dancing girl layers
The animation is 24 layers so once you have done this, In AS you should now have 24 frames
Test out your banner! Then save it...one part done lol
Now for the avatar which is real easy!
On the banner we just made-edit-copy merged
New canvas 150 x 150-flood fill white-paste the copied banner as a new layer
Arrange as above
Select the white flood filled layer-selections-select all-float-defloat
Selections-modify-select selection borders
Use the following settings
New raster layer-flood fill with a gradient of choice-same one you used on your banner
Selections-select none-move this layer to the very top
Back to the white flood filled layer-selections-select all-float-defloat
Modify-select selections borders-change the border width to 6
New raster layer-flood fill with black
Bring this layer to the top just below the previous border we did
Add drop shadow 0, 0, 3.00 black
Set your foreground to white-background null
Preset shape-rectangle-using the following settings
Draw out a dotted rectangle frame around your canvas
Using the same font you used on your banner-add your name
Arrange as above-change the blend mode to screen
Add correct copyright info
Now let's animate
Edit-copy merged-back to AS-paste as new animation
Duplicate until you have 12 frames
Open up the animation you got from Verve
CTRL & A to select all-edit-copy-select the avatar frames
CTRL & A to select all-edit-paste-into selected frame
Arrange your animation where desired or see avatar above
Test your avatar! Once happy save your avatar
All done!!
Thanks for trying my tutorial. I hope you have enjoyed it
This tutorial was written on 17th August 2010.
The concept of the tutorial is copyrighted.
Feel free to link to the tutorial and or print out for your personal use.
But please do not copy it in any way to put online, pass out, or rewrite without permission.
The image you create using this tutorial is for you do to as you wish except for monetary gain or for merchandising.
©Just T!ckled P!nk 2007-2011. Any resemblance to another tutorial is purely coincidental.
Proud member of TWI

 Labels:
Dance Like
Labels:
Dance Like
Subscribe to:
Post Comments (Atom)
-♥-My TOU-♥-
All of my tutorials are copyrighted.
Feel free to link to the tutorial in your groups and or print out for your personal use.
But please do not copy it in any way to put online, pass out, or rewrite without permission.
The image you create using this tutorial is for you do to as you wish except for monetary gain or for merchandising. However, just because you did my tutorials that does not give you the right to go and tut your results. Unfortunately that has happened to me. Tut writers please do not use my exact settings in your tutorials please make up your own :)
By staying on my blog and doing my tutorials you are agreeing to my TOU.
©Just T!ckled P!nk 2007-2011. Any resemblance to another tutorial is purely coincidental.

1 comments:
I can't open the supplies in this tut. It says they are not valid PSP image files? I also tried in animation shop and still won't open :( I don't know if anyone else has had this problem or not?
Post a Comment