Avatars

A few people have asked if I would do a avatar tut so here we are
I have been making my avatars like this for a few years now the possibilities are endless
When I make a tag I really like I do like to make a matching avatar to use in forums lol
This tutorial is written making my Playful And Provocative avatar
This is a long tutorial and the end result will have 46 frames
There are some other avatar examples at the bottom of this page
This tutorial was written for those
that have a working knowledge of PSP.
Supplies Needed:
PSP 9 (any version will work)
Tube of choice
I used artwork by Keith Garvey
If you would like to use his artwork please visit PSP Tubes Emporium
I bought this one when he was at MPT
Font of choice - I am using Century Gothic, Roelandt The Swatches Rob and Impact
Filters used - 'MuRa's Meister Tone'
Let's get starte
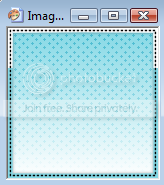
New canvas 150 x 150-change foreground colour to #84d8e5 and background colour to #ffffff
Click on the foreground colour then choose the gradient tab
Using the following settings
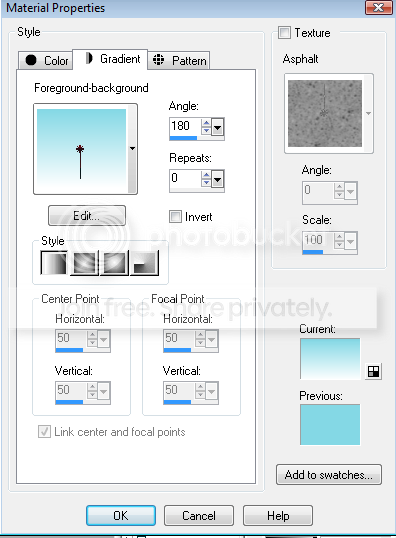
Now flood fill your canvas with that gradient
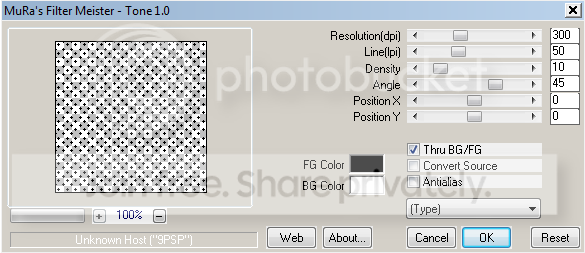
New raster layer-effects-plugins-MuRa's Meister-tone-using the following settings
Selections-select none-change the blend mode to soft light
Merge visible the 2 layers-rename this layer Background
Selections-select all-float-defloat-selections-modify-select selection borders
Use following settings
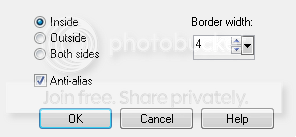
New raster layer-flood fill with #84d8e5-new raster layer flood fill with #ffffff
Selections-select none
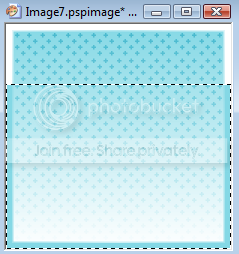
Grab the selection tool-rectangle-draw a selection as shown below

Make sure your on the white border layer-hit delete-you should now have this
Selections-select none
Change your foreground colour to #000000-close off the background colour
Preset shape-you want a square-change the link style to dot

Draw out a square on the border-see below
Close off the background layer-merge visible the 2 border layers and the dotted square layer
Rename the layer Border-add drop shadow 0, 0, 40, 4.00 black
Un X the background layer
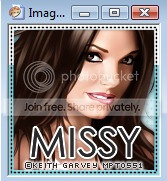
Copy and paste your tube of choice-resize if needed
Arrange so her face is showing-drop shadow 1, 1, 40, 4.00 black
Rename this layer Tube-move this layer below the Border layer
Close off the tube layer for now
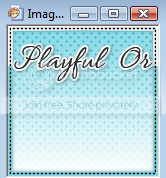
Font tool-I am using Roelandt The Swatches Rob font

Change the background colour to #2a2a2a and foreground off
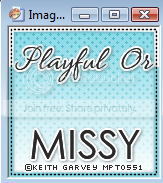
Type out the words Playful Or-convert to raster
Selections-select all-float-defloat-modify-expand by 2.00
New raster layer-flood fill with #ffffff-selections-select none
Move this layer below the words
Close off the background, border and tubes layers
Merge visible the 2 word layers-drop shadow 1, 1, 40, 4.00 black
Rename this layer Playful Or
Arrange as below
Keep the other layers closed for now
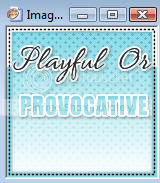
Change the background colour to #84d8e5
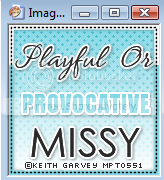
Font tool-Impact-use following settings

Convert to raster-selections-select all-float-defloat-modify-expand by 2.00
New raster layer-flood fill #ffffff-selections-select none
Move this layer below the main provocative word
Close off the Playful Or layer-merge visible the provocative words
Drop shadow 1, 1, 40, 4.00 black
Rename this layer Provocative
Arrange as below
Change the background colour to #2a2a2a
Using the font tool-Century Gothic-size of choice to fit your name
Add your name-convert to raster-selections-select all-float-defloat-modify-expand by 2.00
New raster layer-flood fill with #ffffff-selections-select none
Move this layer below your main name
If the layer named Provocative is still open-close it now
Merge visible your name layers
Drop shadow 1, 1, 40, 4.00 black
Rename this layer Name< Arrange as below 
Add your copyright info to your avatar
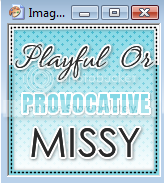
Un X the background layer, tube layer and the border layers
Your avatar should look like this now
Now we are ready to start animating the avatar
Edit-copy merged-open up Animation Shop
Paste as new animation-back to PSP
Close off the tube layer-reopen Playful Or layer
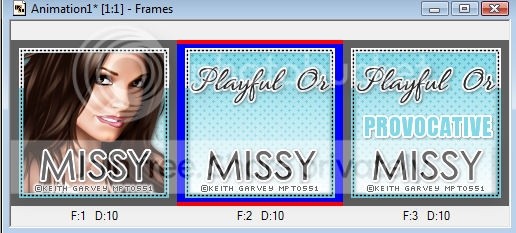
Edit-copy merged-back to AS-paste after current frame
Back to PSP-reopen Provocative layer
Edit-copy merged-back to AS-paste after current frame
You should now have this in AS

Select frame 2
Edit-copy-select frame 3-edit-paste after current frame
You should now have this
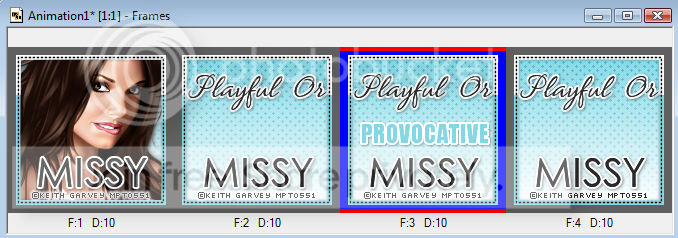
Making sure frame 3 is still selected-edit-copy
Select frame 4-edit-paste after current frame
You should now have this
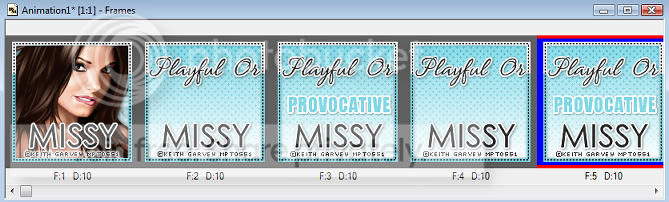
Select frame 1-edit-copy-select frame 5-edit-paste after current frame
You should have this

Select frame 1-effects-insert image effect-use the following settings

You will now have 16 frames
Select frame 11-effects-insert image transition-use the following settings
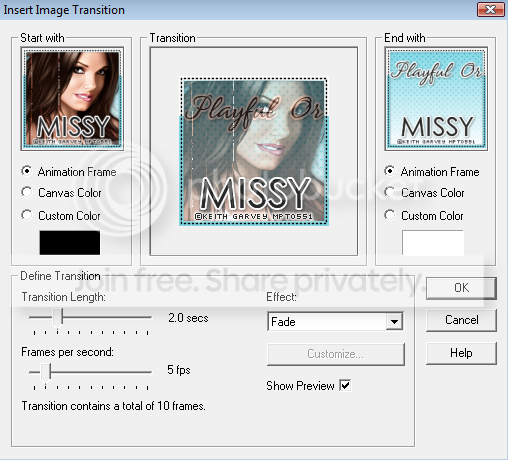
You should now have 26 frames
Holding down CTRL-select frames 22, 23, 24 and 25-animation-frame properties-change the display time to 50-click ok
Select frame 25-effect-insert image transition-use the following settings
You will now have 36 frames
Select frame 36-effects-insert image effect-use the following settings
You will finally have 46 frames-test your avatar
Once happy save as .gif
Phew all finished!!!
I hope you have enjoyed this Avatar tutorial
Here are some other examples


I have plenty more as I said above the possibilities are endless and they are fun to make :0)
This tutorial was written on 24th April 2009.
The concept of the tutorial is copyrighted.
Feel free to link to the tutorial and or print out for your personal use.
But please do not copy it in any way to put online, pass out, or rewrite without permission.
The image you create using this tutorial is for you do to as you wish except for monetary gain or for merchandising.
©Just T!ckled P!nk 2007-2011. Any resemblance to another tutorial is purely coincidental.

Subscribe to:
Post Comments (Atom)
-♥-My TOU-♥-
All of my tutorials are copyrighted.
Feel free to link to the tutorial in your groups and or print out for your personal use.
But please do not copy it in any way to put online, pass out, or rewrite without permission.
The image you create using this tutorial is for you do to as you wish except for monetary gain or for merchandising. However, just because you did my tutorials that does not give you the right to go and tut your results. Unfortunately that has happened to me. Tut writers please do not use my exact settings in your tutorials please make up your own :)
By staying on my blog and doing my tutorials you are agreeing to my TOU.
©Just T!ckled P!nk 2007-2011. Any resemblance to another tutorial is purely coincidental.

0 comments:
Post a Comment